How to Use Your Gaggia Classic Evo Pro for the First Time (Step-by-Step)
Posted by Coffeeteca, 28/02/2025
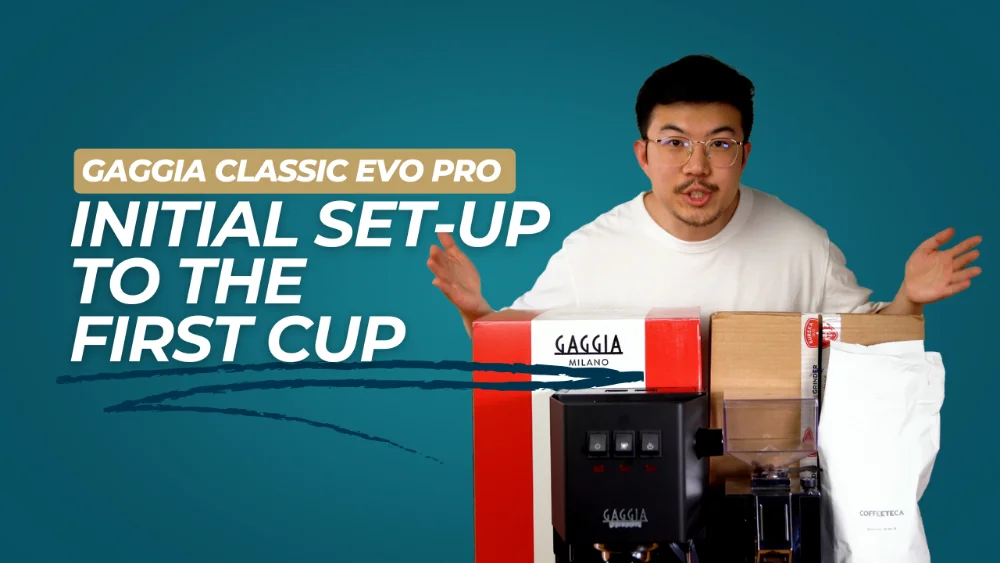
If you’ve just purchased a Gaggia Classic Evo Pro, congratulations! This machine is a fantastic choice for anyone looking to make café-quality espresso at home. In this guide, we’ll take you through everything you need to know to set up your machine and brew your first perfect espresso.
Unboxing & Understanding the Gaggia Classic Evo Pro
Before we start brewing, let’s familiarise ourselves with the different parts of the machine:
Main Components:
Rocker Switches:
On/Off Button – Powers the machine.
Brew Button – Starts and stops espresso extraction.
Steam Button – Activates the steam function for milk frothing.
Steam Valve – Controls steam flow when frothing milk.
Steam Wand – Used for frothing and steaming milk.
Water Container – Holds the water needed for brewing.
Drip Tray – Collects excess water and spills.
Accessories Included:
Double Basket – For brewing a double shot of espresso.
Single Basket – For a single shot.
Pressurized Basket – Designed for pre-ground coffee beans (must be used with a frothing jet device).
Tamper – To compress coffee grounds evenly.
Step 1: Priming the Gaggia Classic Evo Pro
Before making your first espresso, you need to prime the machine. This is crucial because the boiler is empty. If you turn it on without water inside, it could cause damage.
How to Prime Your Machine:
Fill the water tank up to the MAX line.
Place a large container below the steam wand.
Turn on the machine, then press the brew and steam buttons.
Let water flow through the machine and out of the steam wand until a steady stream appears for 1 – 2 minutes.
Now, your machine is ready to brew!
Step 2: Setting Up Your Grinder
A quality grinder is essential for great espresso. We’ll be using the Eureka Mignon Specialita 55 grinder.
How to Set Up Your Grinder:
Fill the bean hopper with fresh coffee beans.
Adjust the grind size using the dial:
Clockwise = Finer grind
Anti-clockwise = Coarser grind
For a double shot, we aim for:
18g of ground coffee
36g of espresso output
25-30 seconds brew time
Step 3: Preparing the Espresso Puck
Distribute the grounds evenly using the finger swipe method.
Tamp firmly using the provided tamper – apply even pressure to create a level coffee bed.
Step 4: Brewing Your First Espresso
Insert the portafilter into the group head.
Place a scale below your cup.
Turn on espresso mode on your scale (if available) – this will automatically time the shot when liquid hits the cup.
Press the brew button and remove the cup when the scale approaches 36g of espresso.
Check the extraction time:
If it’s too fast (<25 sec), grind finer.
If it’s too slow (>30 sec), grind coarser.
Dialing in the Perfect Shot:
Attempt #1: 36g in 16 seconds → Grind finer.
Attempt #2: 36g in 20 seconds → Still too fast, grind finer.
Attempt #3: 36g in 28 seconds → Perfect!
Now you have a balanced, delicious espresso!
Final Thoughts
That’s it! You’ve successfully set up and brewed your first espresso with the Gaggia Classic Evo Pro. Whether you’re a beginner or an experienced home barista, this process will ensure consistent, high-quality espresso every time.