


Free Shipping Australia Wide

If you’ve just invested in a high-quality espresso machine and grinder, you are likely eager to pull your first café-quality shot.
However, many home baristas quickly discover that the equipment alone doesn’t guarantee perfect coffee. The trick to pouring a rich, syrupy espresso is all about ‘dialling in.’
Dialling in is the systematic process of adjusting your grinder to find the right grind size that, when combined with a specific dose of coffee, produces a perfectly extracted espresso.
It’s the difference between a sour, watery disappointment and a sweet, balanced shot that rivals your favourite local café.
Many beginners assume that once a grinder is set, it can be left alone. In reality, dialling in is an ongoing relationship with your coffee. As beans age, humidity changes, or you open a new bag, your grinder requires slight adjustments.
This guide will walk you through the precise steps to dial in your espresso grinder, troubleshoot common issues, and understand the mechanics behind the perfect extraction.
Your espresso machine is only as good as your grinder.
You can own a premium dual-boiler machine, but if your grinder cannot produce a consistent, uniform particle size, your espresso will always fall short.
A grinder capable of micro-adjustments, such as the Eureka Mignon Specialita or the Gaggia MDF 55, is essential.
These grinders allow you to make the tiny, precise changes necessary to control how water flows through the coffee bed.
If you are using pre-ground coffee from the supermarket, you are already starting at a significant disadvantage, as coffee beans begin losing their complex flavours and aromas within minutes of being ground.
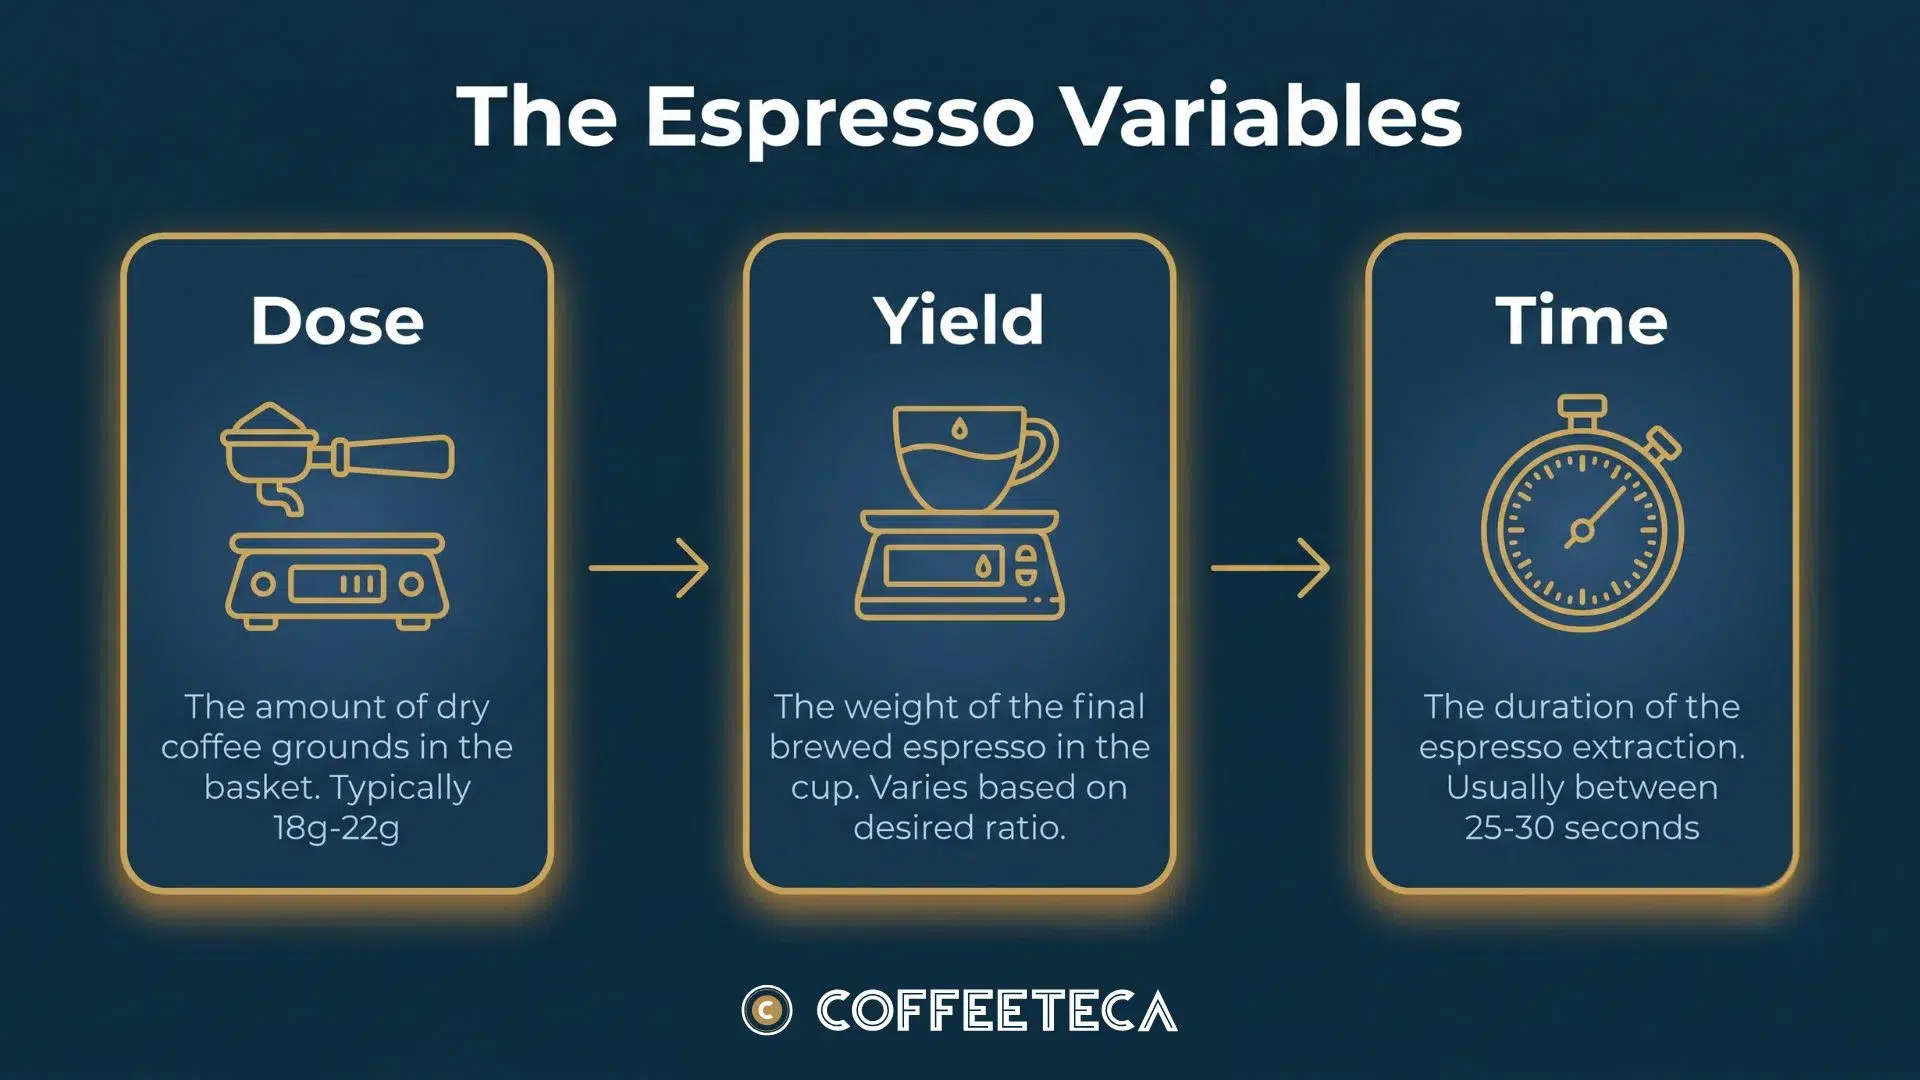
Before touching the adjustment dial on your grinder, you should now the three core variables that dictate espresso extraction. When dialling in, you should only ever change one variable at a time.
If you adjust the dose and the grind size simultaneously, you will not know which change improved or ruined the shot.
| Variable | Definition | Recommended Starting Point |
|---|---|---|
| Dose | The weight of dry coffee grounds placed into the portafilter basket. | 18 grams (for a standard double basket). |
| Yield | The total weight of the liquid espresso extracted into your cup. | 36 grams (a 1:2 ratio). |
| Brew Time | The time it takes for the water to pass through the coffee and reach the target yield. | 25 to 35 seconds. |
The relationship between dose and yield is known as the brew ratio. A 1:2 ratio (18 grams of dry coffee to 36 grams of liquid espresso) is the industry standard starting point.
Once you lock in your dose and target yield, the grind size becomes your primary tool to control the brew time.
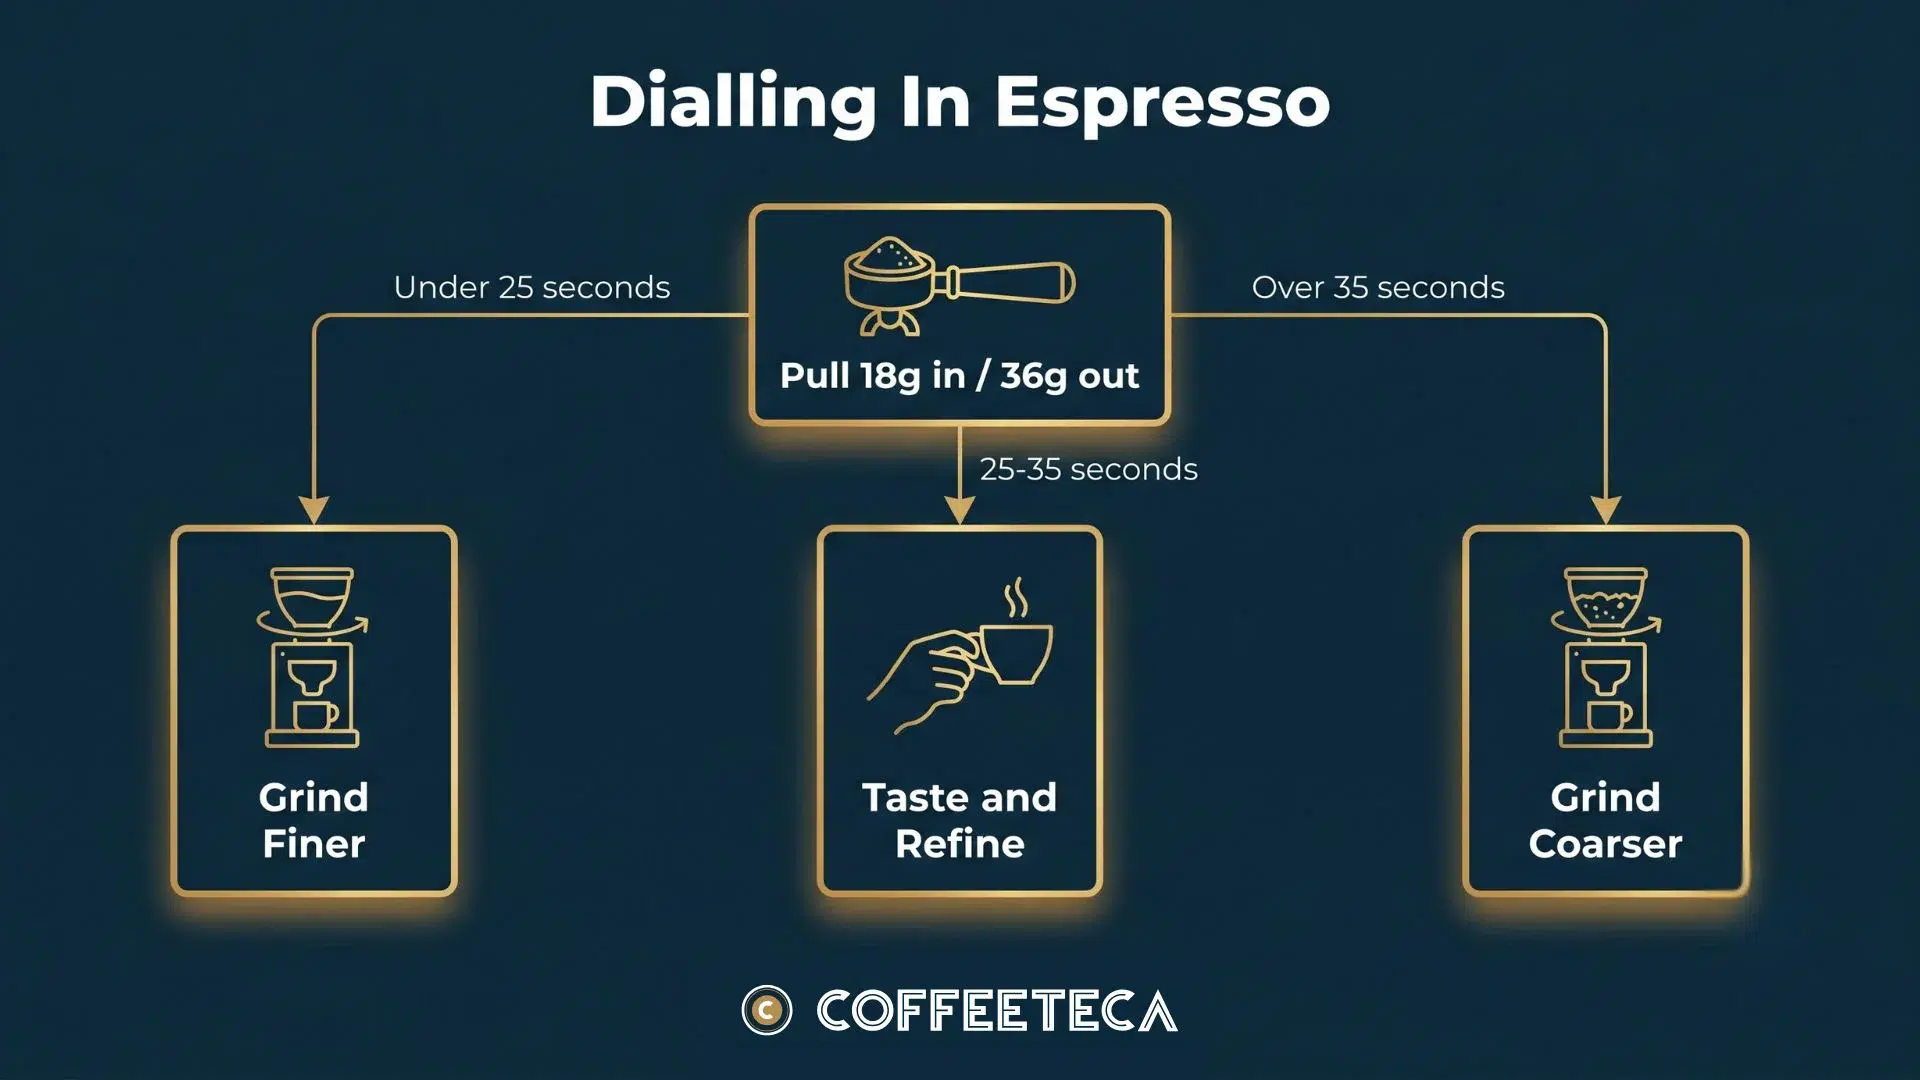
If the water flows through the coffee too quickly (under 25 seconds), the grind is too coarse. If the water struggles to push through (over 35 seconds), the grind is too fine.
Trying to dial in your grinder without the right gear is just going to do your head in.
Before you begin, ensure you’ve the following equipment ready.
Firstly, you need a dedicated espresso burr grinder. Blade grinders or cheap filter coffee grinders cannot grind finely or consistently enough for espresso.
Secondly, a digital scale accurate to 0.1 grams is non-negotiable. Measuring coffee by volume (using a scoop) is highly inaccurate, as different roasts have different densities.
You must also ensure you are using an unpressurised (single-wall) filter basket. Many entry-level machines come with pressurised baskets, which feature a false bottom with a single tiny hole.
These baskets create artificial pressure and are designed for pre-ground coffee. They cannot be properly dialled in.
To unlock true espresso flavour, you must use an unpressurised basket, which relies entirely on your grind fineness and tamping technique to create resistance.
Finally, you need fresh coffee beans. Beans that were roasted yesterday are too fresh; they contain excess carbon dioxide that will cause channelling and a harsh, gassy flavour.
Conversely, beans older than six weeks will be stale and lack crema. For optimal espresso, use beans that have rested for 7 to 14 days after their roast date.
Grinders generally fall into two categories: stepped and stepless.
Stepped grinders have preset clicks or numbered positions. They are easy to adjust back and forth, but the steps can sometimes be too far apart for precise espresso tuning.
Stepless grinders, such as the Eureka Mignon series, offer infinite adjustment.
The collar rotates smoothly without clicking into place. This allows for unparalleled precision, which is crucial for espresso. When adjusting a stepless grinder, remember that tiny movements make a massive difference.
A quarter-turn or even a millimetre adjustment can change your extraction time by several seconds.
Chuck your portafilter on the scale and zero it out.
Grind your coffee until you reach your target dose, which is typically 18 grams for a standard double basket.
Once the coffee is in the basket, it must be distributed evenly. If the grounds are clumped or uneven, water will find the path of least resistance, a phenomenon known as channelling.
Using a WDT (Weiss Distribution Technique) tool—a small handle with fine needles—to stir the grounds will break up clumps and ensure an even density.
Finish by tamping the coffee. Apply firm, level pressure until the coffee stops compressing. The right force matters less than ensuring the tamp is perfectly level. A crooked tamp will guarantee an uneven extraction.
Place your cup on the scale, position it under the group head, tare the scale to zero, and start your timer the moment you engage the pump.
Watch the scale closely and stop the extraction just before you hit your target yield of 36 grams, as a few extra drops will fall after you stop the pump.
Note the final time. Did it take 15 seconds? 45 seconds? This time will dictate your next move.
Do not judge the shot solely by the timer; you must taste it. Stir the espresso to integrate the crema and take a sip.
If the shot ran too fast (under 25 seconds): The water rushed through the coarse coffee, failing to extract the sweet compounds. The espresso will taste sour, sharp, salty, and thin. You need to adjust your grinder to be finer.
If the shot ran too slow (over 35 seconds): The water struggled to pass through the tightly packed, fine coffee, extracting bitter, undesirable compounds. The espresso will taste bitter, dry, ashy, and hollow. You need to adjust your grinder to be coarser.
If the shot ran in the target window (25-35 seconds): The espresso should taste sweet, balanced, and complex, with a lingering finish. You’ve successfully dialled in your grinder.
This is the step most home baristas miss.
After you adjust the grind size, there will still be a small amount of coffee retained inside the grinder from the previous setting. If you pull a shot immediately, it will be a mix of the old and new grind sizes.
You must purge the grinder by running it for two to three seconds and discarding those grounds. Once purged, weigh out a fresh 18-gram dose and pull another shot. Repeat this process until you hit the perfect balance of time and taste.
If you’ve just unboxed a brand new grinder, you may find that your shots are inconsistent, even when you follow all the steps perfectly. This is due to a phenomenon called burr seasoning.
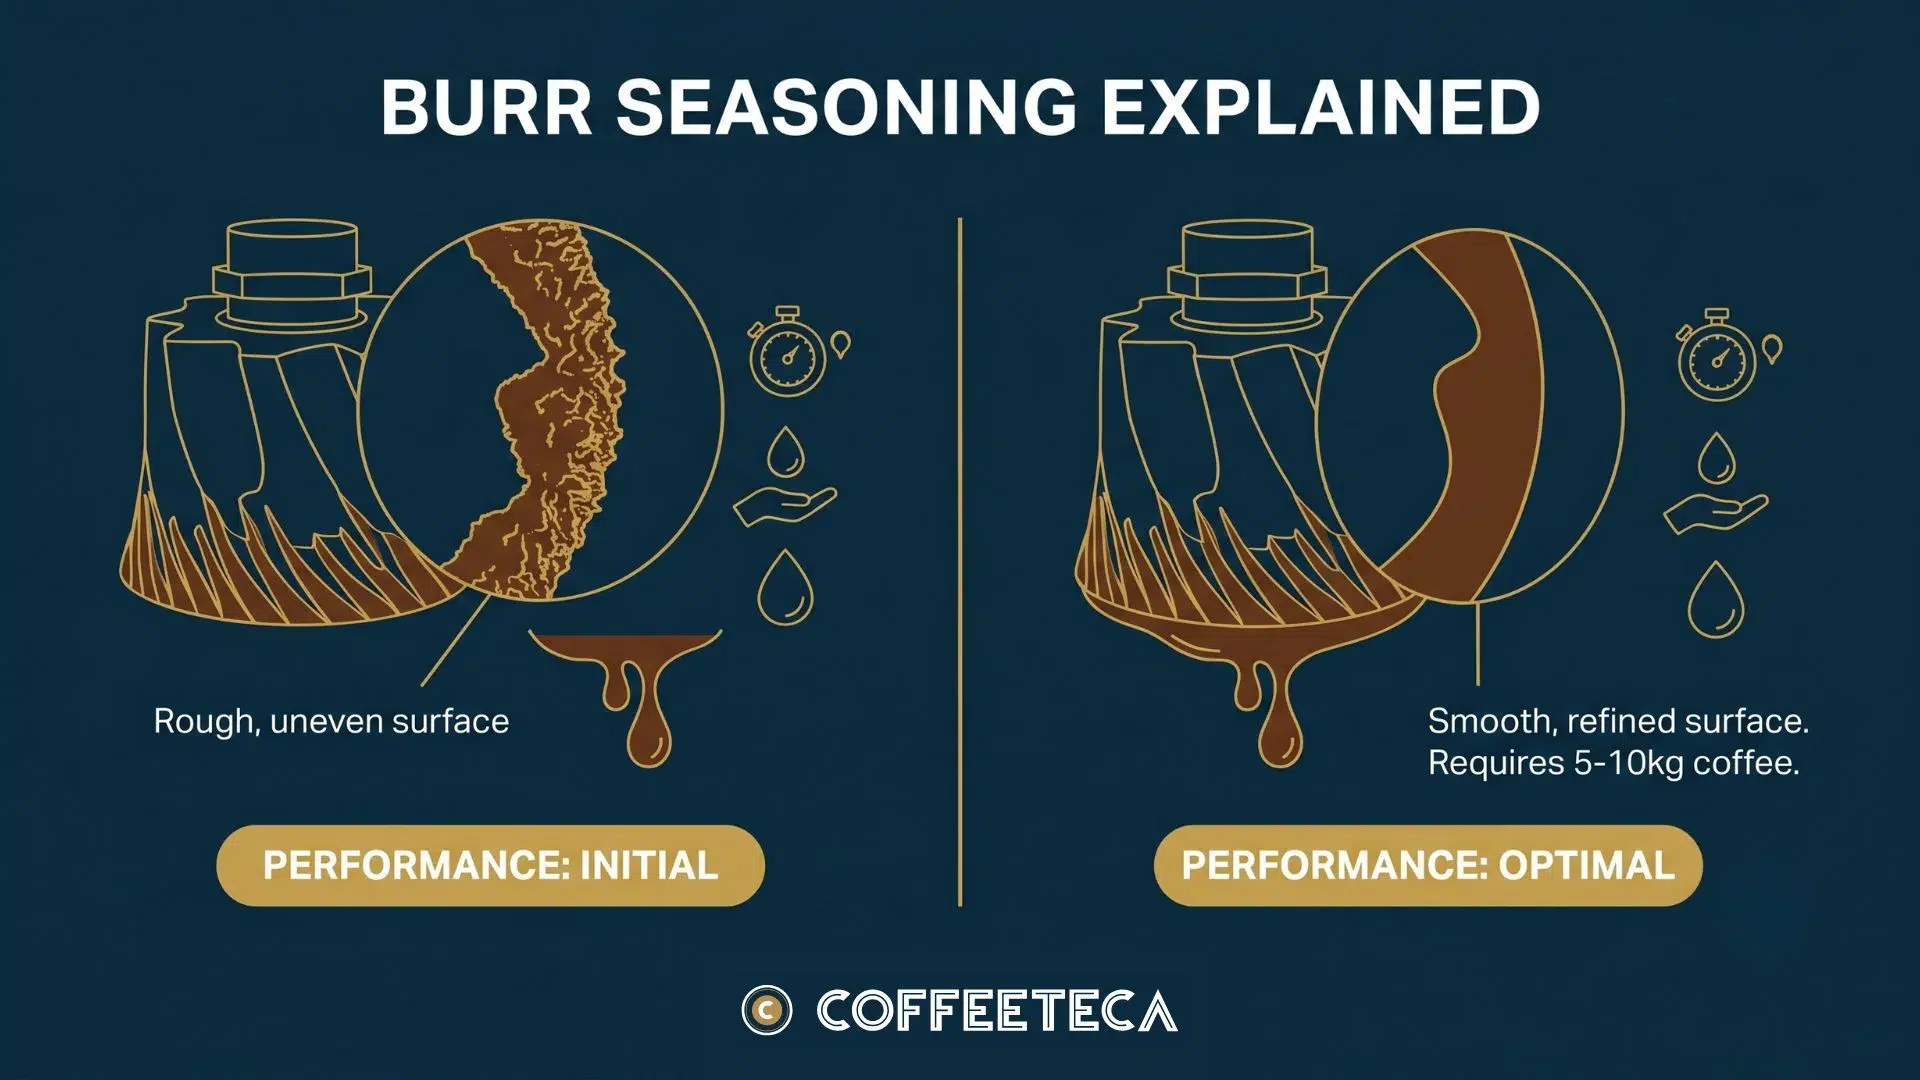
New grinder burrs have microscopic imperfections and sharp edges left over from the manufacturing process. These imperfections cause the grinder to produce an uneven particle size and excessive coffee dust, known as fines.
As you use the grinder, the coffee beans gradually wear down these microscopic edges, smoothing the burrs and stabilising the performance.
For a high-quality grinder like the Eureka Mignon Specialita, it typically takes between 5 and 10 kilograms of coffee to fully season the burrs.
During this break-in period, you will need to adjust your grind setting more frequently. Do not be discouraged; the consistency and flavour clarity will improve dramatically over the first few weeks of use.
Additionally, all grinders suffer from grind retention. This refers to the stale coffee particles that remain trapped in the burr chamber and chute after grinding.
If your grinder has sat unused overnight, those stale grounds will end up in your morning coffee, causing the shot to run too fast and taste flat. To prevent this, simply purge a few grams of coffee each morning before preparing your first shot.
Dialling in is not a set-and-forget process. You will need to make minor adjustments to your grinder in several scenarios.
The most obvious is when you open a new bag of beans. Even if it is the exact same blend from the same roaster, variations in the roast batch or the age of the beans will require a grind adjustment.
As coffee beans age, they lose moisture and become more brittle, which causes the water to flow through them faster. You will generally need to adjust your grind slightly finer as you work your way through a bag of coffee over a week or two.
Changes in weather also play a surprising role. Coffee is highly hygroscopic, meaning it absorbs moisture from the air. On a humid, rainy day in Australia, the beans will absorb moisture, swell slightly, and slow down the extraction. You may need to adjust slightly coarser to compensate.
If you are struggling to achieve consistent results despite following this guide, your grinder may be the limiting factor. Investing in a dedicated, high-quality espresso grinder is the single best upgrade you can make to your home coffee setup.
For those entering the world of home espresso, the Gaggia MDF 55 is an excellent starting point, offering robust performance and micrometric stepless adjustment. It pairs perfectly with machines like the Gaggia Classic Evo Pro.
If you are looking for exceptional precision, near-silent operation, and minimal grind retention, the Eureka Mignon Specialita 55 is a standout choice.
Its 55mm flat burrs deliver a remarkably uniform grind, and its compact design makes it ideal for home kitchens. For those who want the ultimate convenience, the Eureka Mignon Libra incorporates grind-by-weight technology, eliminating the need for a separate dosing scale entirely.
Browse our extensive range of premium coffee grinders online, or explore our curated machine and grinder bundles to ensure you’ve the right tools from day one.
If your shot time is correct but the espresso tastes sour, the water temperature may be too low.
Ensure your machine is fully heated before brewing. Alternatively, the coffee beans may be too lightly roasted for your preference; light roasts are naturally more acidic and harder to extract than medium or dark roasts.
This depends on your grinder’s retention.
For low-retention grinders like the Eureka Mignon series, purging 2 to 3 grams (about one to two seconds of grinding) is sufficient. For larger commercial-style grinders, you may need to purge 5 to 7 grams to completely clear the chute.
No. Pre-ground coffee loses its freshness rapidly and is ground to a generic size that cannot be adjusted.
To dial in properly and extract true espresso, you must use whole beans and grind them fresh for every shot using an unpressurised filter basket.
This is a classic symptom of grind retention.
The stale coffee left in the grinder overnight has dried out and offers less resistance to the water. Purging a small amount of coffee before your first shot will solve this issue and ensure consistency.